
For an imaging project, I’ve had good results with 10 to 15 dark frames. Some photographers prefer way more, up to 50 dark frames on a photograph, but I believe they are utilizing files from a previous dark frame library. If you’re using DeepSkyStacker, keep in mind that adding more calibration frames will add time to the integration procedure.
There are many variables to consider when taking pictures of the Milky Way, one of the more important being how many dark frames you need for astrophotography. This blog post will go in-depth into why dark frames are necessary and how they work to reduce noise in your images.
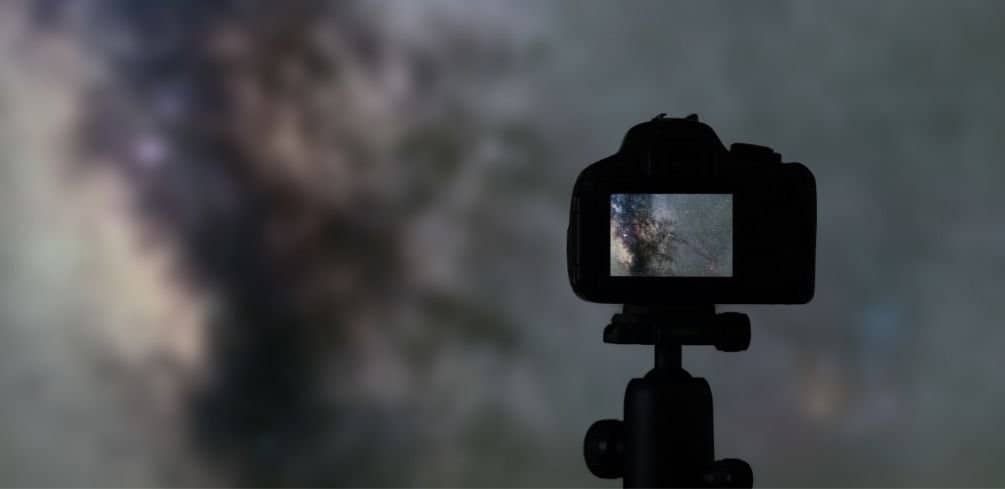
How Many Dark Frames Do I Need for Astrophotography?
Dark frames in astrophotography help reduce noise and enhance image quality. They are often used for subtracting thermal noise from long exposure shots of night sky objects.
The number of dark frames you need for astrophotography depends on the noise level in your camera. If you have a very low signal-to-noise ratio, adding multiple darks will further reduce noise levels even after calibration.
On the other hand, if your signal is already high with little thermal current running through it, additional dark images won’t be as helpful at reducing noise.
For most DSLRs shooting night sky objects, four to six darks are usually enough to produce pictures that are almost free from electronic noise. You may also want to take flats or bias images before calibrating if there is a significant difference in the signal levels of your shots.
Why Do You Need Dark Frames In Astrophotography?
As noted above, dark frames are used to reduce noise in astrophotography. Because there is significant heat being built up by the camera sensor during long exposures of night sky objects, it’s important to take darks that can be subtracted from your light shots later on.
Take too few darks, and you’ll have a lot of random thermal signals appearing as extra dots or blobs throughout all of your images.
Most DSLRs will show at least some type of patterning even with just four or five minutes worth of exposure time due to their internal circuitry heating up the sensor so much.
Longer exposure times magnify this effect exponentially. The best way around this problem is simply taking more darks before starting out – eight should be plenty for most situations.
What is the difference between a flat, dark, and biased image?
Flat images are taken with the lens cap on, which should produce an evenly illuminated frame without any hotspots or bright spots to skew your results later. Bias frames have pixels that aren’t used for normal imaging either turned off or set at black level – this will help remove noise from individual sensors if you’re using a high dynamic range CCD camera instead of a DSLR.
Dark images don’t use light at all but can be useful in subtracting out random thermal signals when calibrating long exposure shots of night sky objects. They work by recording what little heat there may still be left in your sensor after taking flats and bias photos.
How Dark Frame Calibration Works
Simply said, a dark frame only picks up the random electronic thermal noise from the sensor of your camera. When you leave the lens cap on for a long time while capturing an image, the only noise is recorded rather than any signal.
Your digital camera’s circuitry generates unwanted signals that might damage the quality of your photograph. This is a common problem with black-and-white films.
It’s usually caused by the incorrect alignment of the negative, which leads to degraded contrast. Subtracting dark frames can help reduce it.
The amount of noise in your long exposure photos produced by the sensor may be reduced using dark frame subtraction. Dark frames can be subtracted from your final image, leaving only the fixed-pattern noise and amp glow.
Noise patterns will be removed from your finished Astro picture by programs like Astro Pixel Processor, PixInsight, and DeepSkyStacker, as effectively as possible.
Dark frames remove camera noise from the image after the stacking procedure, but they do so in a more effective way. All of the calibration frames recommended in this article can be used to improve the signal-to-noise ratio and overall image quality of your deep-sky photographs.
All cameras used for astrophotography, including a DSLR camera, rely on this principle.
Taking Dark Frames
It’s crucial to remember that the dark frames need to be exposed for the same amount of time, at the same temperature, and at ISO speed as your light frames.
If your light frame on a deep sky object were shot with ISO 1600 for 3 minutes each at five °C or lower temperature, your dark frames must meet these settings, only that the lens cap should be on.
You may create a dark frame sequence with camera capture software such as Astro Photography Tool and BackyardEOSor. Better still, you can use a remote shutter release wire.
The third choice is often the most practical if you’re shooting with a lightweight setup without auto-guiding.
The Recommended Techniques
A good approach to utilize is to simply place the dust cap on your telescope after you’ve completed collecting your photographs. This is the most common technique I employ since the light frames were taken earlier were still in effect when the camera was switched on.
You can now begin collecting dark frames with the same camera settings you utilized for your light frames as long as the temperature hasn’t changed and it is still dark. Another advantage is that your camera is also capable of capturing flat photographs when the sun rises.
To make dark frames, some people like to take the camera out of their telescope and fit a covering over the camera body. This approach is useful since you may begin deconstructing your deep-sky imaging equipment while the darks are still being recorded.
It’s worth noting that you should check for any stray light being detected by the camera’s viewfinder. Complete darkness is required for a successful dark frame.
When capturing dark frames with a specialized astronomy camera or CCD camera, you may save time by using a filter wheel to automate the procedure. A dark filter, for example, might be used when photographing LRGB images with, say, a Xagyl five-position filter wheel.
You may use the same gain and offset settings as your lights to end your sequence with a set of dark frame photos.
How Dark Frames Should I Take?
For an imaging project, I’ve had good results with 10 to 15 black frames. Some photographers prefer to use way more, up to 50 dark frames on a photograph, but I believe they are utilizing files from a previous dark frame library.
If you’re using DeepSkyStacker, keep in mind that adding more calibration frames will add time to the integration procedure.
The DeepSkyStacker manual pages recommend a minimum of 20 frames for the best results. Using 50 to 100 creates almost noiseless master dark frames.
It’s a good idea if you have the time and can take 20+ dark frames. To get the most out of your table, aim for at least 15. Today, you can capture 15 dark frames for each project with any camera.
If your astrophotography photograph incorporates data from multiple nights, you’ll need to match the darks for each set. If the imaging circumstances and camera settings have not altered, you may be able to utilize an existing set of darks.
You may use a program like Adobe Bridge to examine this data, which includes useful information such as temperature and exposure length in your photos. There are a variety of free tools for viewing EXIF data in your images.
Consider Having a Dark Frame Library
Photographers who have a lot of experience taking pictures of the night sky will generally keep a collection of dark frames. This entails catching dark frames at various ISO and temperature levels so that you may use them in future projects.
You won’t have to collect new dark frames every night if you use this technique. This technique might save you a lot of time and work, but I still prefer to shoot fresh dark frames in each photography session.
What is Dithering?
Dark frames are not the only way to reduce noise in your image data. You may take a variety of additional actions to minimize the noise generated by your digital camera sensor.
Dithering is one of the most effective ways to do this.
The term “dithering” refers to the act of shifting the picture frame slightly from shot to shot. The noise pattern from your sensor is canceled out by the pixel data’s randomization.
In the stacking procedure, hot and cold pixels, aircraft and satellite trails, and fixed pattern noise are eliminated completely.
Dark Frames FAQs
Final Thoughts
Dark frames are a great way to eliminate thermal noise and other artifacts from your image data. Hopefully, this article has helped you understand why it’s important to capture dark frames and how they can improve your end result.
Have you ever wondered which is Better for Astro-imaging between Eyepiece Projection vs Prime Focus?
Please be careful and use at your own risk
None of the authors, contributors, administrators, or anyone else connected with StarryNova, in any way whatsoever, can be responsible for your use of the information contained in or linked from these web pages.