
Make sure your telescope is on a stable surface. Ensure that all three legs are planted firmly into the ground at their full length. Use a bubble level to make sure that the telescope tube is horizontal. Find an object at about the same distance as you plan to photograph and focus on it. Adjust accordingly.
Balancing a telescope is an important part of astrophotography. It can be done in various ways, depending on the type of mount that your telescope has.
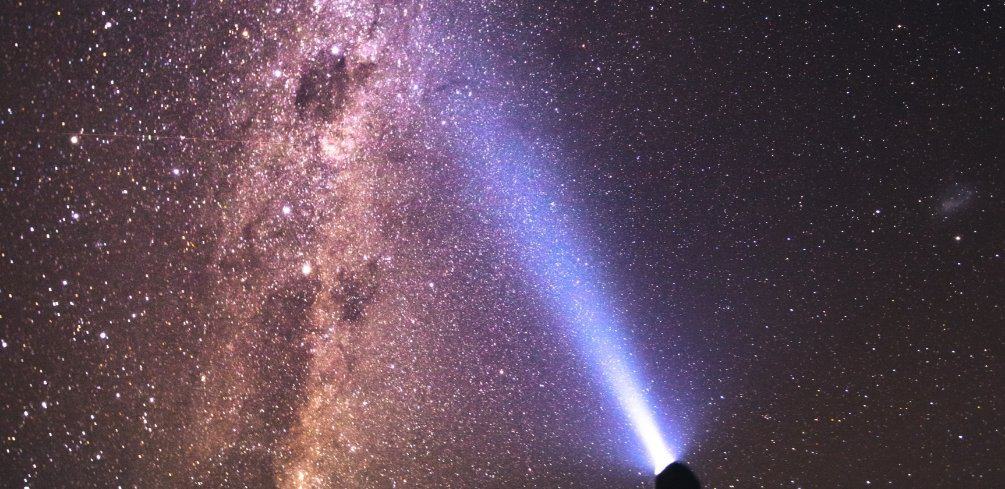
Here are some tips to help you balance your telescope for astrophotography – whether it’s equatorial or altazimuth mounted!
Simple Tips for Balancing a Telescope: For Astrophotography
Make sure your telescope is on a stable surface.
This is important because a telescope will not balance on uneven ground, and you risk damaging your mount with sudden movements if the surface it’s sitting on is unstable. Also, make sure that the surface is level and flat.
A good way to check this is with a spirit or water level, which you can purchase online for not too much money. If your telescope has an altazimuth mount, make sure the tripod is as vertical as possible by raising one end on something like a brick or large rock.
This will help keep tension off of one part of the leg and force it to be distributed evenly over two points instead, which helps balance. And if your model does have a leveling base, use it.
It’s there specifically for making sure everything stays stable when taking long exposures.
Ensure that all three legs are planted firmly into the ground at their full length.
Try adjusting the height of the tripod until you find something that works
This will take some trial and error, but it’s worth the effort – as a poorly balanced telescope can mean not getting much when taking astrophotographs. If your model is equatorial mounted, make sure the mount is level (and stable).
It should have three adjustment screws on the top of the mount that can be used to do this. If it has a bubble level, make sure you calibrate it first by using your hand or finger as a gauge and turning each adjustment screw until all three points are even in height (or notice changes on the bubble).
If your telescope is equatorially mounted without an adjustable dome, your best bet is to place it on a table or other surface that’s level.
This also helps with reducing the effects of vibration, which can be very damaging to your images. If you’re using an altazimuth mount without a tripod (like some older telescopes), use three small stones or bricks in a triangle shape about 18 inches apart to balance the telescope and keep it on a flat surface.
This works to distribute any weight evenly without risking damage. And if you’re using an altazimuth mount with a tripod, use sandbags by putting them in the “triangle” or at points where your model’s feet are when they need balancing most (like near one of the legs).
Use a bubble level to make sure that the telescope tube is horizontal.
A bubble level is inexpensive and can be found at any hardware or home improvement store. This can help ensure that your telescope is level, which will give you the best chance of success when taking astrophotographs.
With an equatorial mount, you can adjust screws at the top or bottom of the mounting plate that attaches to the tripod – it should have three adjustment screws on either side of where it connects to the tripod’s head.
Find an object at about the same distance as you plan to photograph and focus on it.
Adjust the tilt of your telescope until the object appears in focus in both eyepieces. This is a great way to test your balance.
If there’s too much play in the telescope, you’ll see that it moves as soon as you focus on the object, and it won’t be stable when taking astrophotographs – so adjust accordingly.
If this happens with an equatorial mount, make sure to tighten the screws on either side of where the tripod connects to the mounting plate until they’re reasonably tight.
And for altazimuth mounts without a leveling base (like some older models), try adjusting one leg at a time by raising or lowering them up/down until they feel equally tight; then do another check using your spirit level before tightening everything down if necessary again.
Turn off any digital setting circles or other electronics.
Turning off any electronics will reduce the risk of an electrical discharge (which can damage your images). This includes any onboard computerized setting circles and other electronic parts.
Use an auto-guider if you have one.
An auto-guider will help you take astrophotography of stars without having to go through the tedious process of aligning your telescope before every exposure. It’s an easy way to ensure accuracy and reduce the possibility that any movement will affect your final image.
Polar Alignment
The most important consideration for polar alignment is that the mount is pointed at Polaris. When mounting the telescope, be sure to put a metal handle into each of the two shiny holes on either side of the mount.
Stay away from them once they are in place unless you are changing locations or lining up polar alignment.
Turn the mount on and look through the little lens at the top of it. Rotate the telescope’s axis to match the angle between the big dipper and Cassiopeia for better results.
Just unscrew the metal lens holder a little, and use both handles on each side of the motorized mount to gently pull it left or right until Polaris is in the small circle.
Conclusion
Balancing a telescope for astrophotography can be challenging if you do not know how to do it correctly. With these simple tips, however, you should be able to avoid any problems.
Note that you have to be very careful about electrical discharge when you’re working on these adjustments. Also, be sure to turn off any settings circles or other electronics that you can.
Your telescope is level when the object appears in focus in both eyepieces. You can also polar align without Polaris.
Please be careful and use at your own risk
None of the authors, contributors, administrators, or anyone else connected with StarryNova, in any way whatsoever, can be responsible for your use of the information contained in or linked from these web pages.