
Set up the telescope and aim it at a distant object, use a collimation tool to inspect the alignment of the mirrors, and then adjust the primary mirror until the reflection of a secondary mirror is centered. Check the alignment of the secondary mirror and make adjustments. Repeat the process until the reflection is clear.
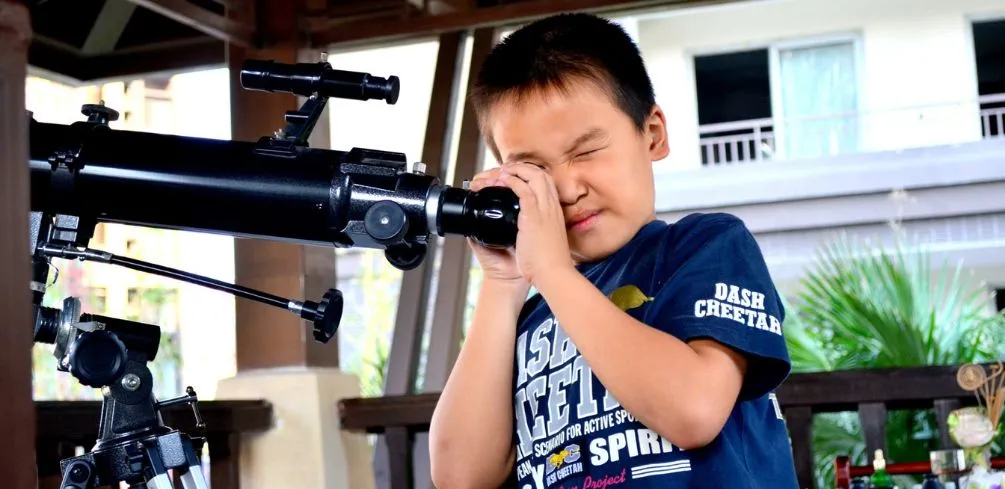
Whether you’re a beginner astronomer or a seasoned stargazer, there’s nothing more frustrating than an out-of-whack telescope. If your bird Jones Telescope isn’t giving you clear images, it might be time for maintenance.
Collimating your telescope is actually pretty easy and only takes about ten steps. With clear skies and patience, you’ll have your Bird Jones Telescope pointing at the stars in no time.
How To Collimate a Bird Jones Telescope in 10 Steps
Here are the ten steps you need to follow to collimate your Bird Jones Telescope:
Step 1: Gather the Supplies
To properly collimate your telescope, you’ll need a few items:
- A collimation tool (such as a Cheshire Collimator)
- A star chart and compass
- A Phillips head screwdriver
- An eyepiece for focusing the alignment
Step 2: Set Up the Telescope
Start by setting up your telescope in an open, dark area. Aim the telescope at a distant object like a star or the moon, and use your star chart to ensure it’s in the correct position.
You can clean the primary mirror by gently wiping it down with a damp cloth. Be sure to use circular motions and avoid any rough scrubbing or rubbing.
Step 3: Inspect the Mirrors
Use a collimation tool like the Cheshire Collimator to inspect the alignment of the mirrors. This tool checks for optical issues with the telescope, like a misaligned or tilted mirror.
It should take about 10 minutes for the mirror to come into focus. If it doesn’t, you’ll need to make adjustments to your primary mirror until it’s clear and centered.
Step 4: Locate the Collimation Screws on the Primary Mirror Cell
On the top of the primary mirror cell, you’ll find three collimation screws. These screws are used to make fine adjustments to the mirror.
Align these screws with your screwdriver until all three are pointing in a straight line. This ensures that the primary mirror will stay in place while you adjust it.
Step 5: Align the Primary Mirror
Once the collimation screws are aligned, adjust the primary mirror until the reflection of a secondary mirror is centered in the eyepiece. If you need to make fine adjustments, use your screwdriver and gently turn each screw until you’re satisfied with the alignment.
Step 6: Use a Laser Collimator to Project a Beam of Light into the Telescope
If you have a laser collimator, use it to project a beam of light into the telescope. This will help you ensure the primary mirror is aligned correctly and that all three screws are secure.
Step 7: Check the Secondary Mirror
After you’ve adjusted the primary mirror, inspect the secondary mirror for any misalignment. If you notice any issues, adjust the mirror until it’s centered in the primary mirror’s reflection.
Step 8: Repeat the Process
Once you’ve adjusted the secondary mirror, repeat the process until both mirrors are properly aligned. This can be done by viewing the reflected image in an eyepiece and making small adjustments as needed.
Taking your time and patience is important, as small adjustments will greatly impact the telescope’s alignment.
Step 9: Check for Collimation with a Star Test
Once you’ve completed the collimation process, it’s time to check your work. Take your telescope out on a clear night and make sure the stars are in focus when you look through the eyepiece.
If they’re not, go back and make adjustments until all alignment issues have been resolved.
Step 10: Lock the Collimation Screws
Once you’re satisfied with the collimation, use your screwdriver to lock the three screws in place. This will ensure that all of your hard work won’t be undone.
Tips for Keeping Your Bird Jones Telescope Collimated
There are a few things you can do to ensure your Bird Jones telescope stays in pristine condition:
Avoid Touching the Mirrors and Lenses
As a regular rule of thumb, it’s best to avoid touching the mirrors and lenses whenever possible. Even a small amount of dust or fingerprints can disrupt the telescope’s alignment.
Remember that storing your telescope in a safe, dry place when not in use is important. This will help protect the mirrors and lenses from scratches or other damage.
Perform Regular Cleaning and Maintenance
You should inspect your telescope routinely for any defects or misalignments. When cleaning the mirrors, use a soft cloth with circular motions and avoid any rough scrubbing or rubbing.
If you find dust or dirt on the mirror, use a small amount of alcohol to clean it off without damaging the surface.
Handle With Care
You need to handle your telescope with care. Avoid bumping the mirrors or lenses when transporting the telescope, and ensure that all screws are properly tightened.
This will help prevent misalignment issues and keep your Bird Jones Telescope in tip-top shape for years to come.
Clean the Telescope Regularly
Be sure to give your telescope a thorough cleaning regularly. This will prevent dirt or dust from getting stuck in any crevices and affecting the telescope’s performance.
Additionally, use a soft cloth dampened with water to wipe down the telescope’s exterior and keep it in top condition.
Use a Collimation Cap
Finally, it’s a good idea to use a collimation cap when making adjustments. This will help you ensure that any changes you make will be accurate and consistent.
This can also ensure your telescope’s alignment stays in perfect condition so you can get the best view of the stars every night.
Common Problems That Can Occur During Collimation and How to Fix Them
A few common issues can occur if you’re having trouble collimating your Bird Jones Telescope. These problems include:
Mirror Tilt
You may have a mirror tilt if you notice the stars are not in focus when looking through your eyepiece. This can be caused by a misalignment of the primary or secondary mirror, so ensure both mirrors have been adjusted properly.
Misaligned Primary Mirror
If you notice dark spots or ghost images when looking through the eyepiece, it could signify that your primary mirror is misaligned. Make sure to adjust it until the stars in the reflection are properly centered.
Sometimes the mirror may not be properly secured. This means the mirror will move when you adjust the screws. Make sure to use a screwdriver to tighten all screws and ensure they are locked in place.
Collimation Error
You may also experience collimation errors if your telescope is out of alignment. To fix this, check the screws and make sure all three are properly tightened.
You can also use a collimation cap to ensure that any adjustments will be accurate and consistent.
Incorrect Back-focus
If you’re having trouble with focus, it may be caused by an incorrect back focus. This is when the eyepiece isn’t properly aligned with the primary mirror in the telescope.
To fix this, adjust the back focus knob until the stars are in focus when looking through your eyepiece.
How To Collimate a Bird Jones Telescope | FAQs
How do I know if my bird telescope needs collimation?
If you notice that the stars don’t appear to be in focus when looking through your telescope, this could indicate that it needs collimation. Additionally, dark spots or ghost images may also signify misalignment of the primary mirror, which can be resolved by properly adjusting the screws.
Is collimation difficult?
No, collimation is fairly easy to do once you understand how the process works. Just make sure to use a collimation cap and follow the instructions in your manual for the best results.
However, if you find that adjusting the screws isn’t working, you may need to take your telescope to a professional for further assistance.
How often should I collimate my Bird Jones Telescope?
It is generally recommended that you collimate your telescope at least once every few months. This will ensure that it stays properly aligned and performs at its best.
Additionally, if you notice that your telescope is having difficulty finding focus, it’s a good idea to check the alignment of your primary mirror.
Final Thoughts
Collimating a Bird Jones Telescope requires some technical expertise but can be done with the right tools and knowledge. Make sure to use a collimation cap when making adjustments and ensure that all screws are properly tightened.
Additionally, it’s important to collimate your telescope at least once every few months to stay in perfect condition and provide the best view of the stars.
I hope this guide has provided you with the information you need to collimate your Bird Jones Telescope properly. With a little practice and patience, you’ll be able to get the clearest view of the night sky in no time. Happy stargazing.
Please be careful and use at your own risk
None of the authors, contributors, administrators, or anyone else connected with StarryNova, in any way whatsoever, can be responsible for your use of the information contained in or linked from these web pages.